
The Importance of Iron in Your Diet
An iron bar recipe creates a wonderful treat full of nutrition for your picnic, party, or other occasions. Notably, iron availability in your diet plays a huge role in general body growth and development. If you eat meals with less or no iron, it is essential to add iron bars as desserts.
What is an Iron Bar?
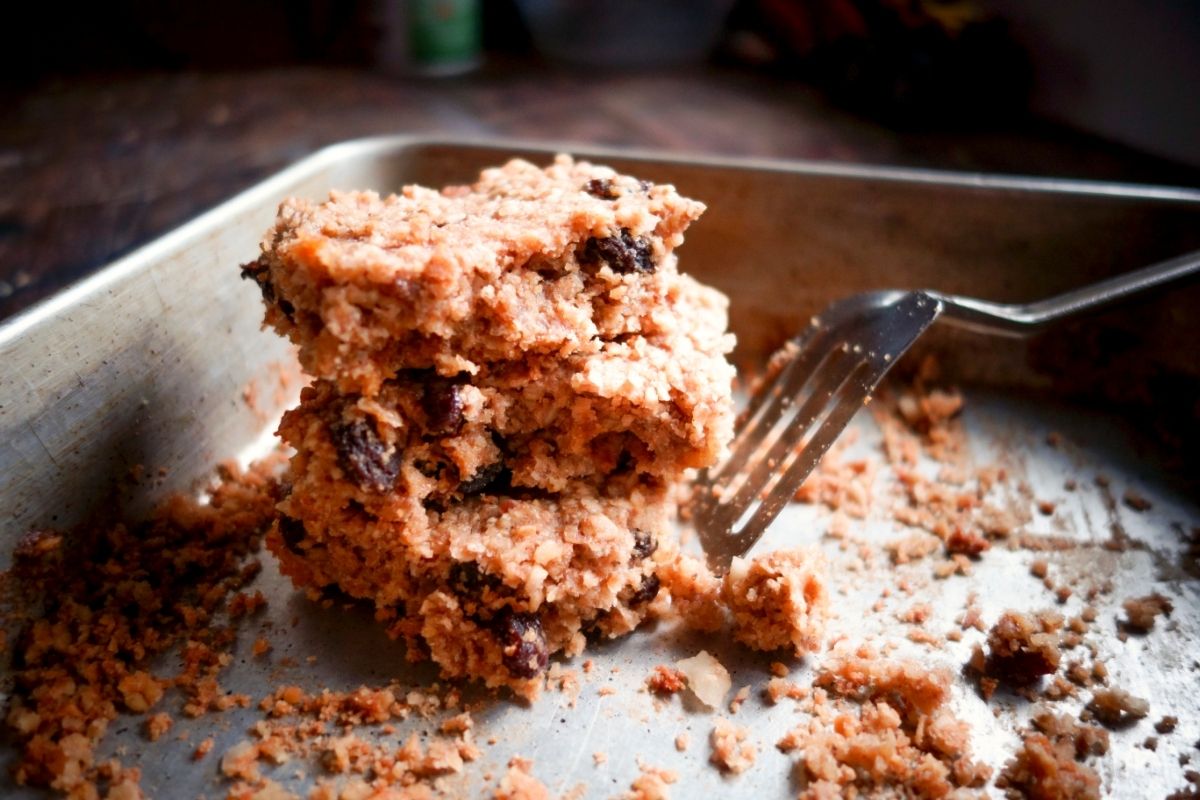
Iron bars are delicious and healthy snacks that are perfect for almost any time. You may take it as an in-between snack or dessert after the main meal. Besides containing much iron essential for the body, iron bars also have large protein and fiber contents.
An iron bar also contains vitamins and other minerals. Some of the minerals are potassium and magnesium. This snack is low in fats and calories. For those thinking about losing weight, this can be one of the best snacks to take.
A Brief History of Iron Bars
Iron bars contain raisins. Like most other types of raisins, the consumption of iron bar raisins started in Europe. The idea for making iron bar snacks came from the process of making raisin bread. The earliest citation of iron bars was in 1845 in an article from Edinburgh magazine.
By the 19th century, iron bar raisins and other forms of bread raisins were popular during breakfasts in England. By the 1920s, the iron bars recipe spread across most parts of the European countries, from homes to coffee shops. Read our article and find out What Do Italians Eat For Breakfast?
Over the years, several improvements to the iron bars recipe have given rise to several variations of the snack’s tastes and other features. The use of modern cooking technologies and variations of ingredients has also aided a lot in making iron bars better than before.
To this date, iron bars have spread across every part of the globe, and many people find them deliciously interesting. If you are thinking of how to make iron bars, you can follow the recipe below:
A Raisin Iron Bar Recipe for You
Time: 40 minutes
Serving Size: 18 bars
Preparation time: 10 minutes
Cook time: 30 minutes
Nutritional Facts
Cholesterol: 0.001 ounce (47.26 milligrams)
Sodium: 0.05 ounces (1647.39 milligrams)
Total fat: 0.99 ounces (28.31 grams)
Potassium: 0.039 ounces (1125.59 milligrams)
Sugars: 1.75 ounces (49.67 grams)
Dietary fiber: 0.37 ounces (10.5 grams)
Carbs: 4.5 ounces (130.47grams)
Protein: 0.38 ounces (10.8 grams)
Vitamin A: 0.3 milligrams
Vitamin C: 3.7 milligrams
Calcium: 0.009 ounces (277.5 milligrams)
Iron: 6.4 milligrams
Equipment Needed
- 9-inch (23 centimeters) cooking pan.
- One small bowl.
- One medium bowl.
Ingredients
- 1 cup raisins
- ½ teaspoon cinnamon
- 1 teaspoon salt
- ½ teaspoon baking soda
- ½ teaspoon baking powder
- ¼ cup powder milk with zero fat
- 1 cup flour
- 1½ cups quick-cooking oats (rolled)
- ⅓ cup molasses
- ⅓ cup vegetable oil
- ¼ cup water
- 1 egg (large)
- ½ cup brown sugar (packed)
- 1 cup carrot (grated)
Directions
- Heat the oven to 350 degrees Fahrenheit.
- Add baking powder, cinnamon, baking soda, salt, and non-fat dry milk, then sift the flour in one bowl.
- Mix molasses, water, and oil into a medium bowl.
- Add brown sugar, carrots, and egg with other dry ingredients and mix properly.
- Bring in the raisins together with rolled oats and mix properly.
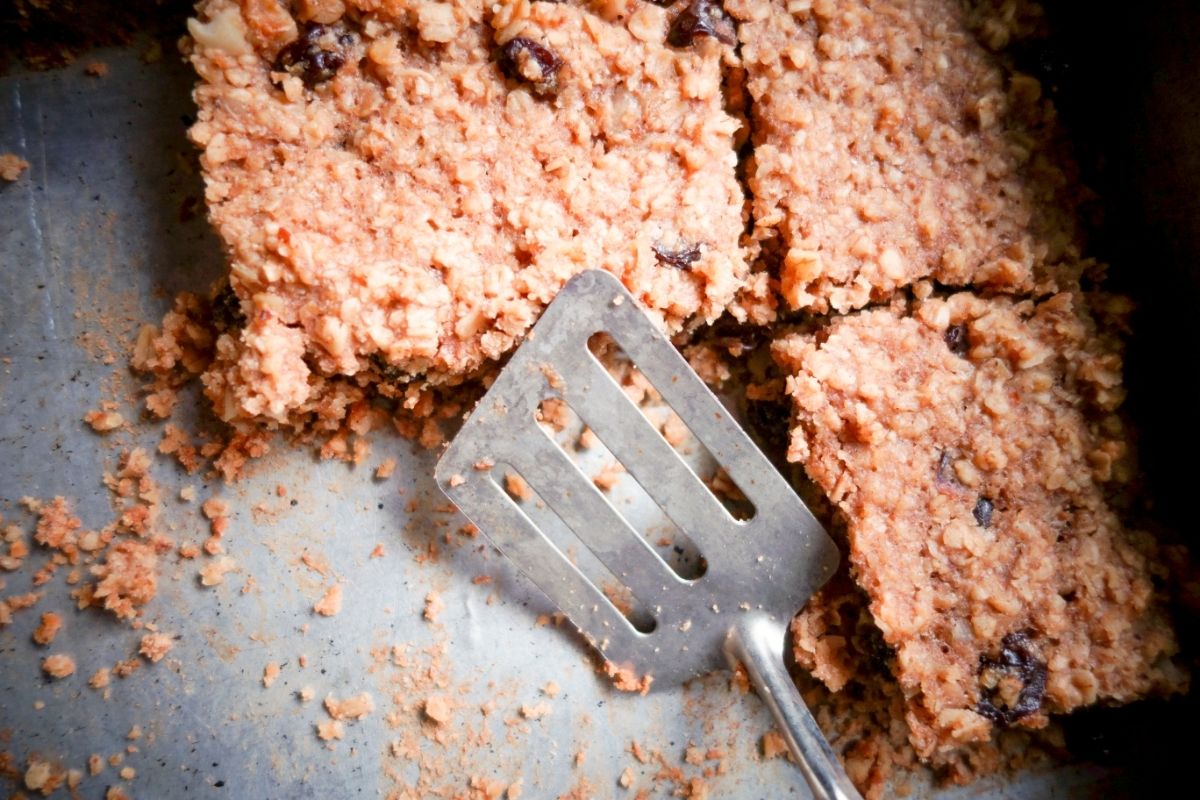
- Pour the whole mixture into a greased pan.
- Bake this mixture for at least 30 minutes. Insert a clean toothpick at the center to test if the baking was successful. The toothpick should come out clean if the baking is to perfection.
- Cool for about 15 minutes.
- Use a sharp knife to cut into 18 bars.
How to Store Iron Bars
After successfully making iron bars, you need to know how to keep them fresh for a while if you do not consume them immediately. Below are some of the main ways of storing iron bars:
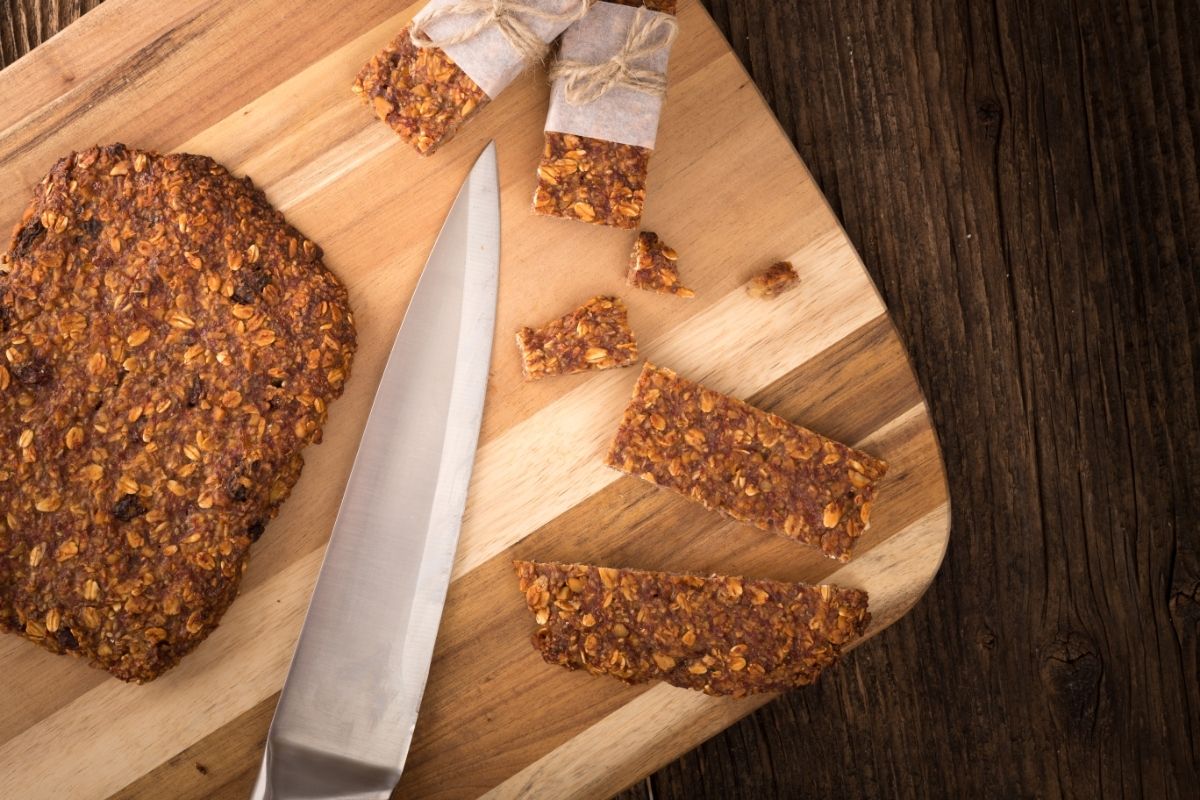
- Use a bread box: As much as this box keeps bread fresh, it also works the same way once it comes to iron bars. The box works by keeping air outside, thus maintaining the texture of your iron bars in return.
- Cover with plastic paper: paper wrappings work almost the same way as bread boxes. Maintaining the natural iron bar moisture is the main goal. This move maintains the freshness of iron bars for long periods.
- Cover with aluminum foil: Aluminum foil retains the natural temperature of iron bars, thus preventing external temperature changes from affecting it. When covering iron bars using this option, always remember to keep the cut slices near each other. You may get more professional by covering individual iron bars in separate aluminum foil covers. This method seems time-consuming, but it is more effective in that if one iron bar piece gets bacteria, it may not spread to the other pieces. Such a move prevents all your iron bars from going bad.
- Freeze your Iron bars: Freezing keeps your iron bars from getting stale due to starch’s crystallization. When freezing, always remember to cover the iron bars with plastic first.
Raisin’ the Bar
Several iron bar recipes bring out different forms of iron snacks. The highlighted iron bar recipe brings out the best treats with many health benefits than just iron. So, try it out.
Community of passionate writers and content creators who share a love for Italian heritage, culture, travel, food, and the Italian-American community. Our mission is to celebrate Italy’s rich history and traditions and connect with others who share the same passion.
